Installation
Macintosh
- Download the full install file, found on the Downloads page. When the download is complete, look in your UserHome/Downloads folder for the InstallCellarMetrics_v**.zip file, double click to unzip.
- Double click on the unzipped file, InstallCellarMetrics_v**. This is the Installer Package.
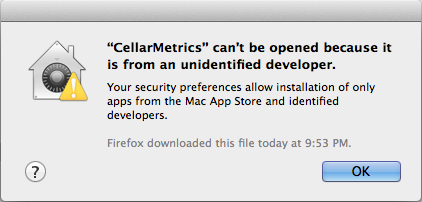
- On OSX 10.9 and later you may see a warning dialog depending on your Security settings. You will need to temporarily alter your settings to allow the installation.
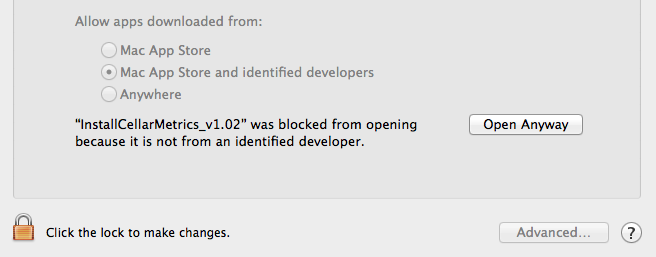
- Go into your System Preferences and click the Security & Privacy pane.
- If you see the notice "InstallCellarMetrics_v** was blocked from opening..." click the Open Anyways button. If not, unlock the pane and select the "Anywhere" button. Then go back to the downloads folder and locate the unzipped Installer Package to proceed. Make sure you return later to Security & Privacy to restore your previous settings.
- The Apple Installer will now open, click Continue on the first screen.
- The next screen may ask you to select a destination, highlight Install for all users of this computer and click Continue. If this screen does not appear, nothing is wrong, just proceed to the next step.
- If there are Important Notes they will appear on the next screen. Click Continue when ready.
- The Installation Type dialog will appear, with a notice about how much space CellarMetrics will require on your hard disk. Click Install. (You cannot change the location of the installed file)
- The installer will run the and notify you when it is complete.
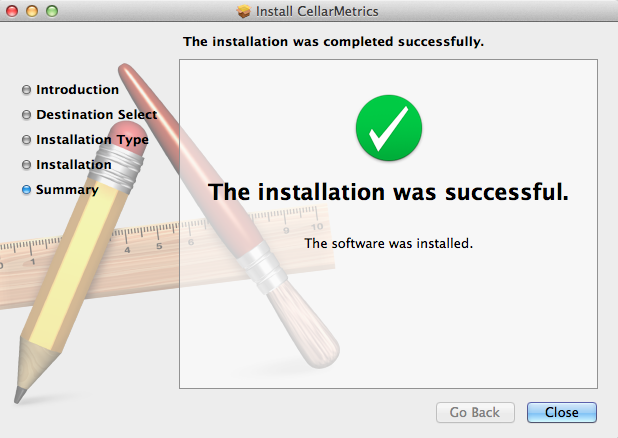
- Close the installer and go to your Applications folder to locate the CellarMetrics program.
- Drag it into your Dock to make it available from there.
- Click to open CellarMetrics!
Windows
- Download the full install file, found on the Downloads page, by saving it to your Downloads folder, or other location.
- When the download is complete, locate the CellarMetricsWin_v**.zip file and double click to open.
- Depending on your version of Windows, the archive will either unzip and produce the files contained inside, or show you a window with the files listed. If a window appears drag the contents to a suitable location, this will unzip them.
- Check and read any ReadMe files
- To open CellarMetrics, go into the main folder and locate the CellarMetrics.exe file.
Double click this file to open
- To create a Shortcut, select the CellarMetrics.exe program and right click, select Create Shortcut.
- Move the Shortcut to any location.
Registration (Mac & Windows)
- Open CellarMetrics, you will see the following dialog.
- Click Create and save the Data file in the default location chosen by the Installer, do NOT change it (very important!).
- Next you will be presented with the Registration dialog box. Enter your name and serial number, if you have purchased the software. Click OK to continue. If you have chosen to run in Demo mode, enter your name and click Demo. You will have 30 days access to all of CellarMetrics features before it will be necessary to purchase a license to continue to use the software.

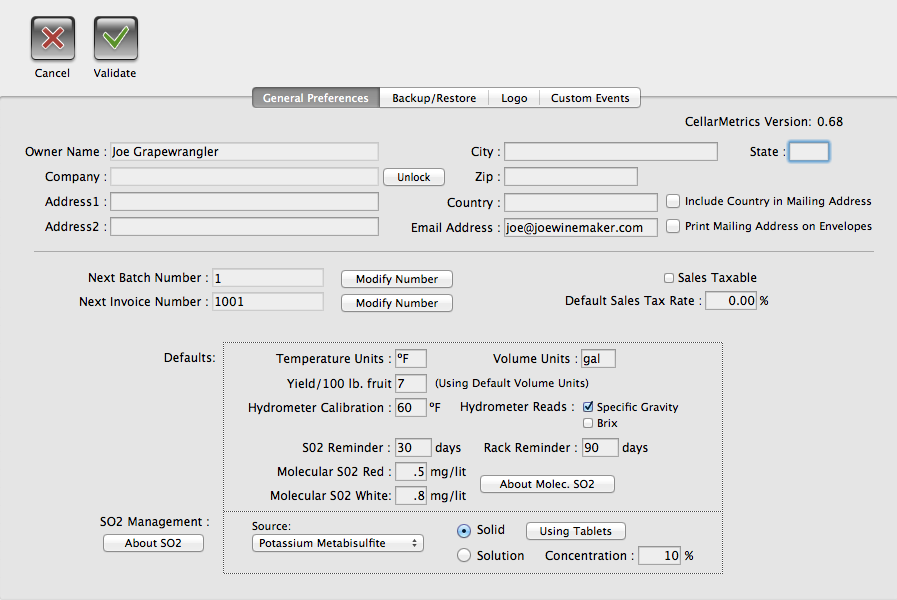
- The next screen contains General Preferences. You can return here at any time to make changes and additions, but for now you should confirm the Starting Batch Number and Starting Invoice Number before entering any new Batches, usually #1 works best.
-
If you are going to be entering Batch data right away its advisable to turn on auto-backups. Click on the Backup/Restore tab. Then click on the Backup Preferences button.
-
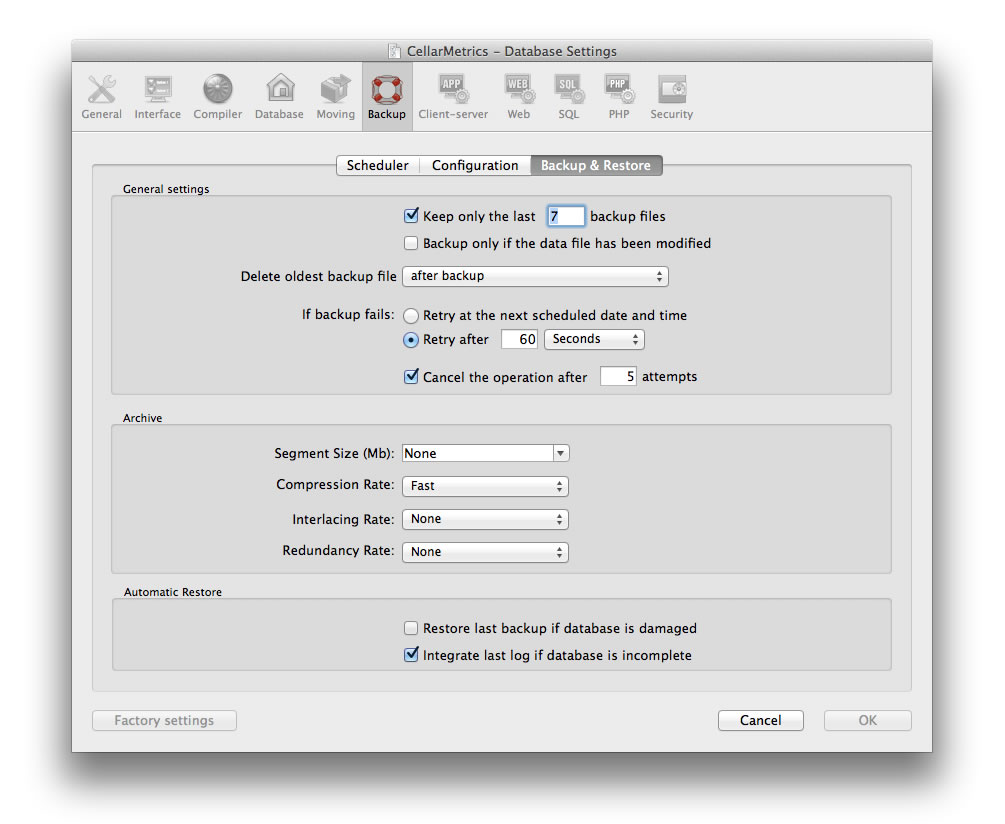
At the Scheduler tab, select the backup frequency you wish. Then skip over the Configuration tab and click Backup & Restore.
-
Choose the number of backup files you want to keep, you are not limited and you should base it on how often you backup. Keep in mind that more backups increase the CellarMetrics file size. One week of backup should be sufficient for most needs. Leave all other settings as they are and click OK to accept.
-
You will return to the Backup/Restore Preferences. Click Validate to save your settings. You will see a dialog advising you to downoad the Yeast File. Click OK to get to the CellarMetrics splash screen.
Installing the Yeast Data File
For the Mac, go to the Downloads page on the CellarMetrics site and click on the Update Yeast Data button to download the file. Unzip to extract a .csv file. Return to the CellarMetrics application. From the File menu select Update Yeast Data and locate the Yeast Data.csv to install.
For Windows, the Yeast File is included with the install files. From the CellarMetrics File menu select Update Yeast Data and locate the Yeast Data.csv to install. If you don't see it listed next to the CellarMetrics folder you may have to tell Windows to show all file types.
You are now ready to use CellarMetrics!
